Installing the New Garage Door Opener, Part 2
![]()
| The first step in replacing the garage door opener was to remove the old Genie opener, which left its ghost on the ceiling of the garage. | 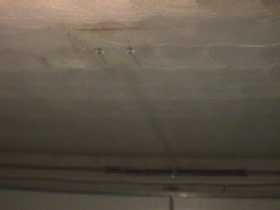 |
|
|
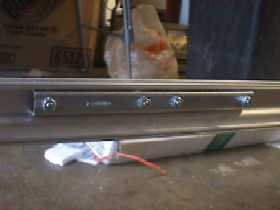
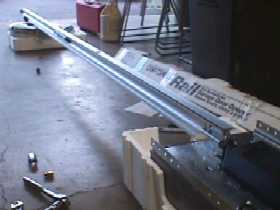
Next up was assembling the Craftsman opener. At the
left, you can see the Craftsman rail at the point where the two halves
are spliced together.
Below at the left is the mounting bracket and the trolley assembly, which attaches to the door and travels the length of the rail, moving the door up or down. Below at the right is a picture of the assembled Craftsman opener. |
|
|
|
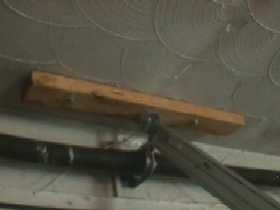
| A 2x4 was then installed on the garage ceiling as a header to mount the rail bracket on. |
|
|
|
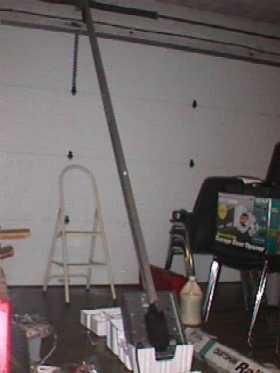
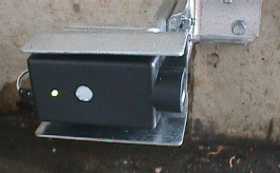
Infrared sensors, shown below, were
installed near the floor at each side of the door, to prevent anything
from getting squashed. If an object is in the beam's path, the
door will not close. As shown at the left, the opener was then attached to the mounting
bracket, and bell wire run from the sensors to the opener, and also to
the wall switch.
|